 I’m going to the US for ten days tomorrow for a friend’s wedding in MA and my first trip to New York. (Yes, I am almost pathologically excited about the restaurants.) Posts may be a bit thin on the ground while I’m away, but I’ll try to update occasionally.
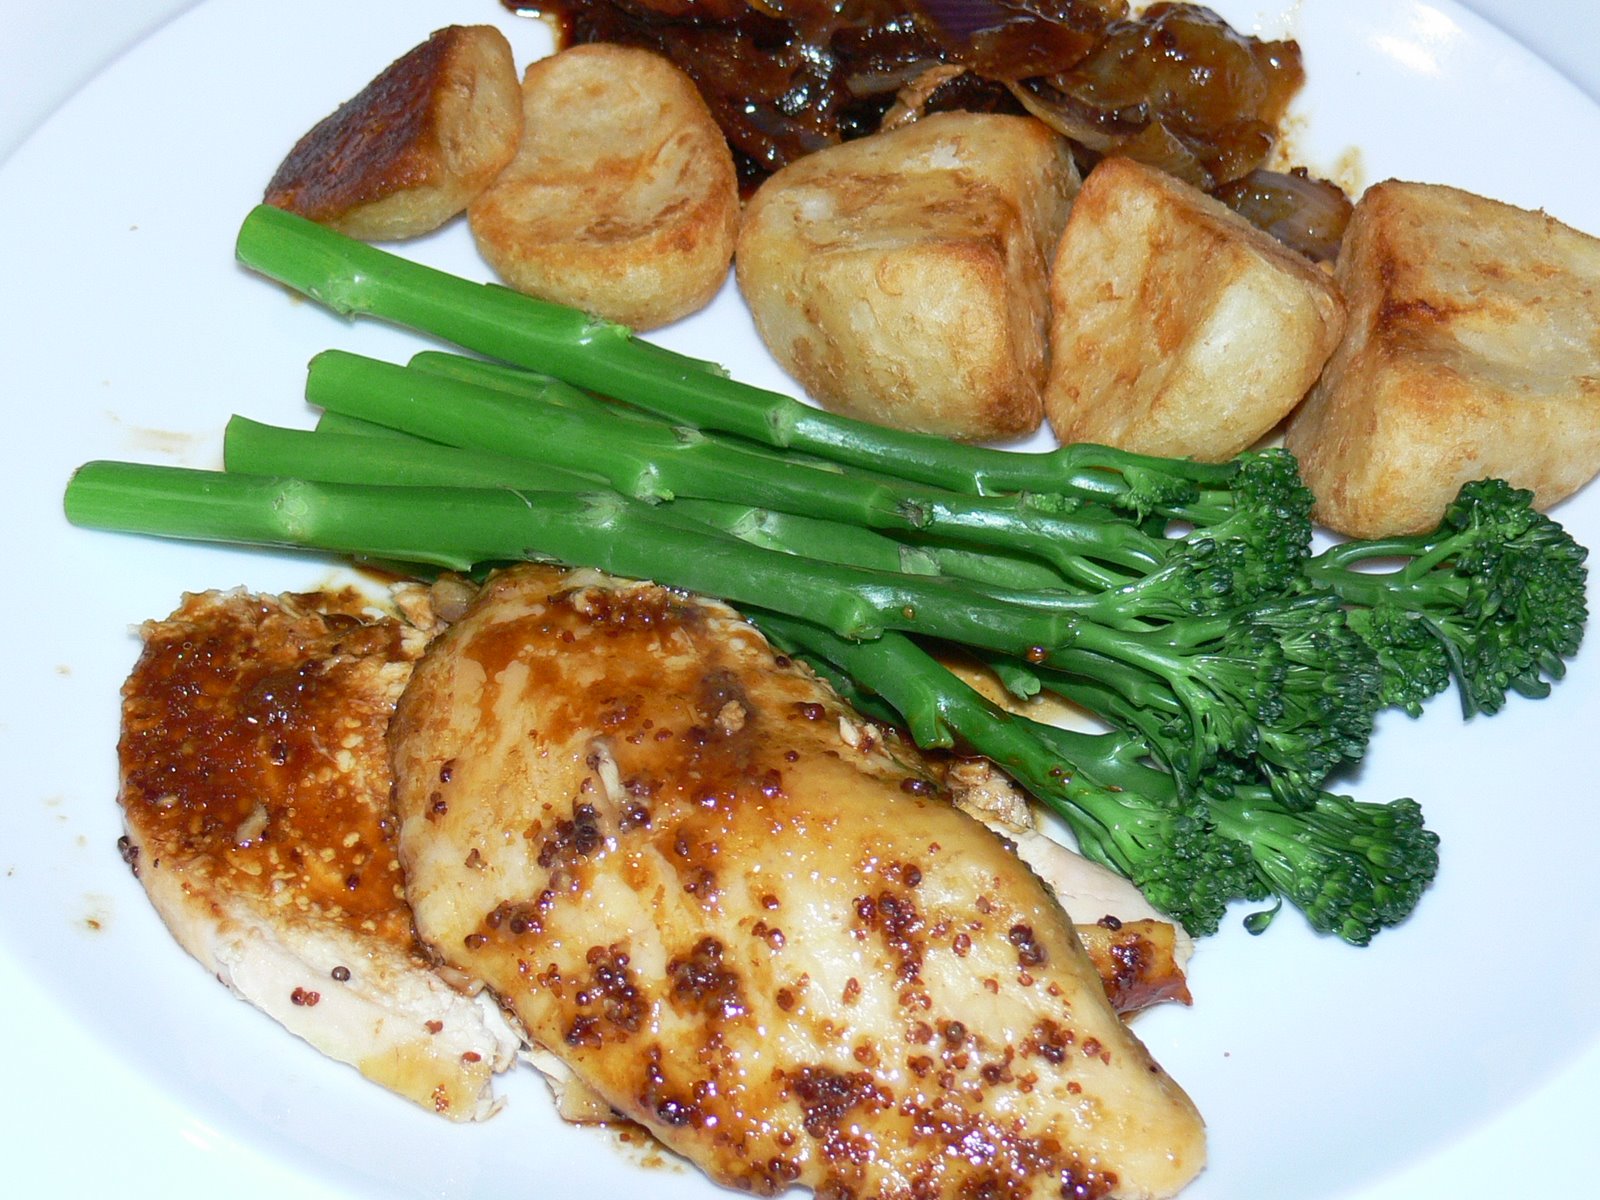
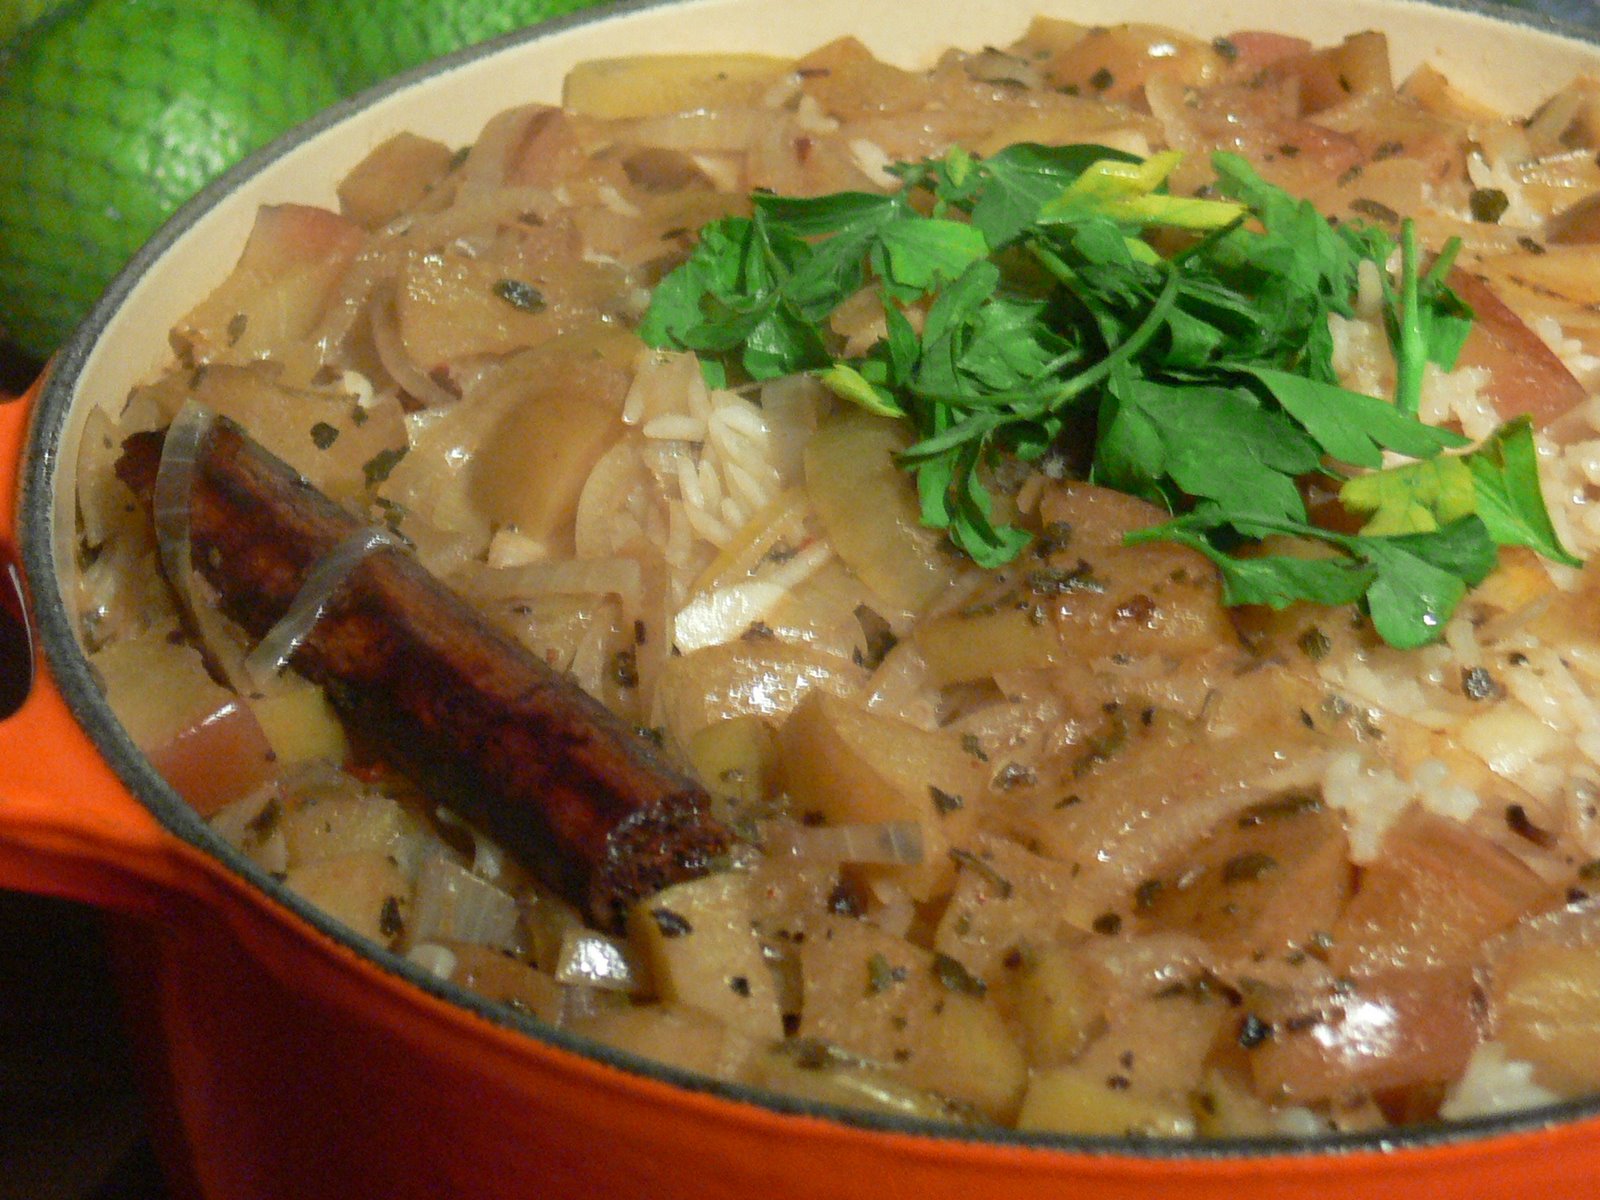
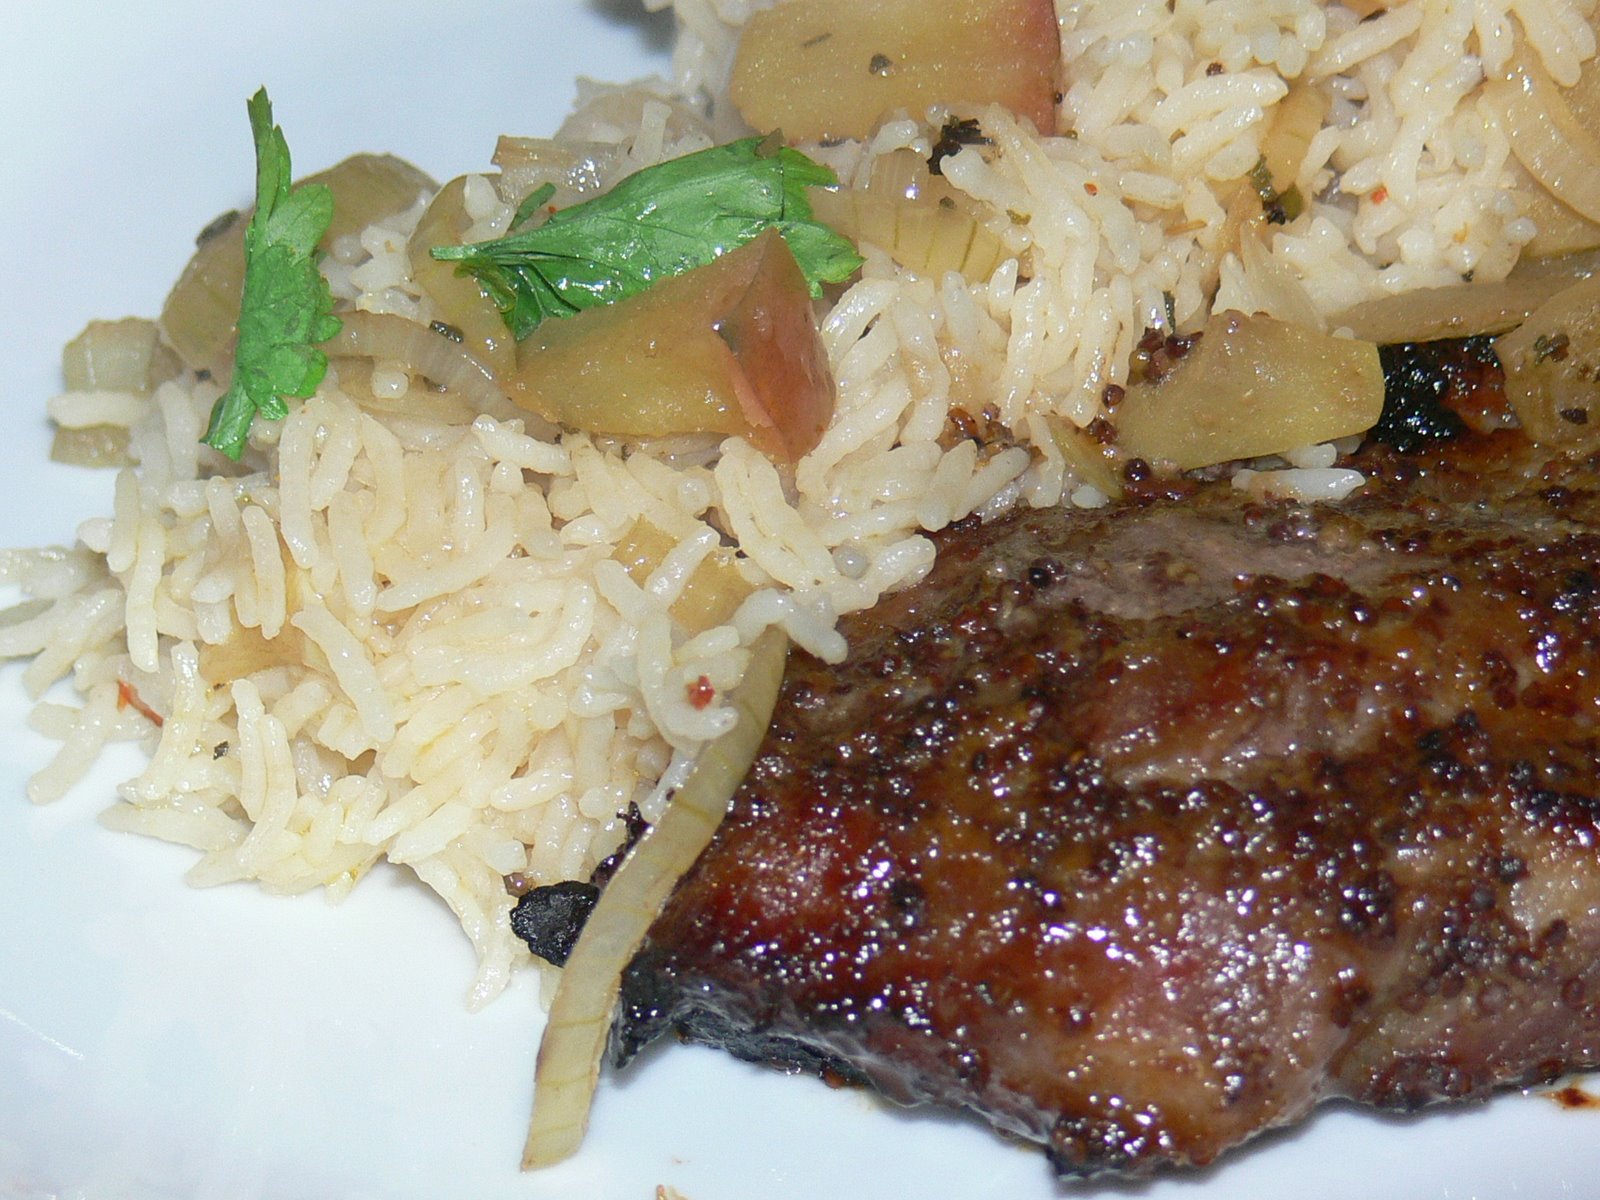
Today’s recipe is a nice easy marinade for some pork shoulder steaks (a lean cut that benefits from some robust marinading), and an onion and apple pilaf to accompany them. What is it about apples and pork that works so well together? I’ve used Braeburn apples here – although they’re an eating apple rather than a cooking one, they hold their shape well when cooked, especially if you leave the skin on, and that skin is a pretty pink, so they look good too. Being an eating apple, they’re also nice and sweet, which is fantastic with the salty pork. This is an economical dish to cook for a lunch party. You can often find pork steaks on sale at a low price, and although rice is more expensive these days, it’s still not crippling. Serve alongside a nice lemony salad to cut through the sweetness.
To serve six, you’ll need:
Pork
6 pork steaks
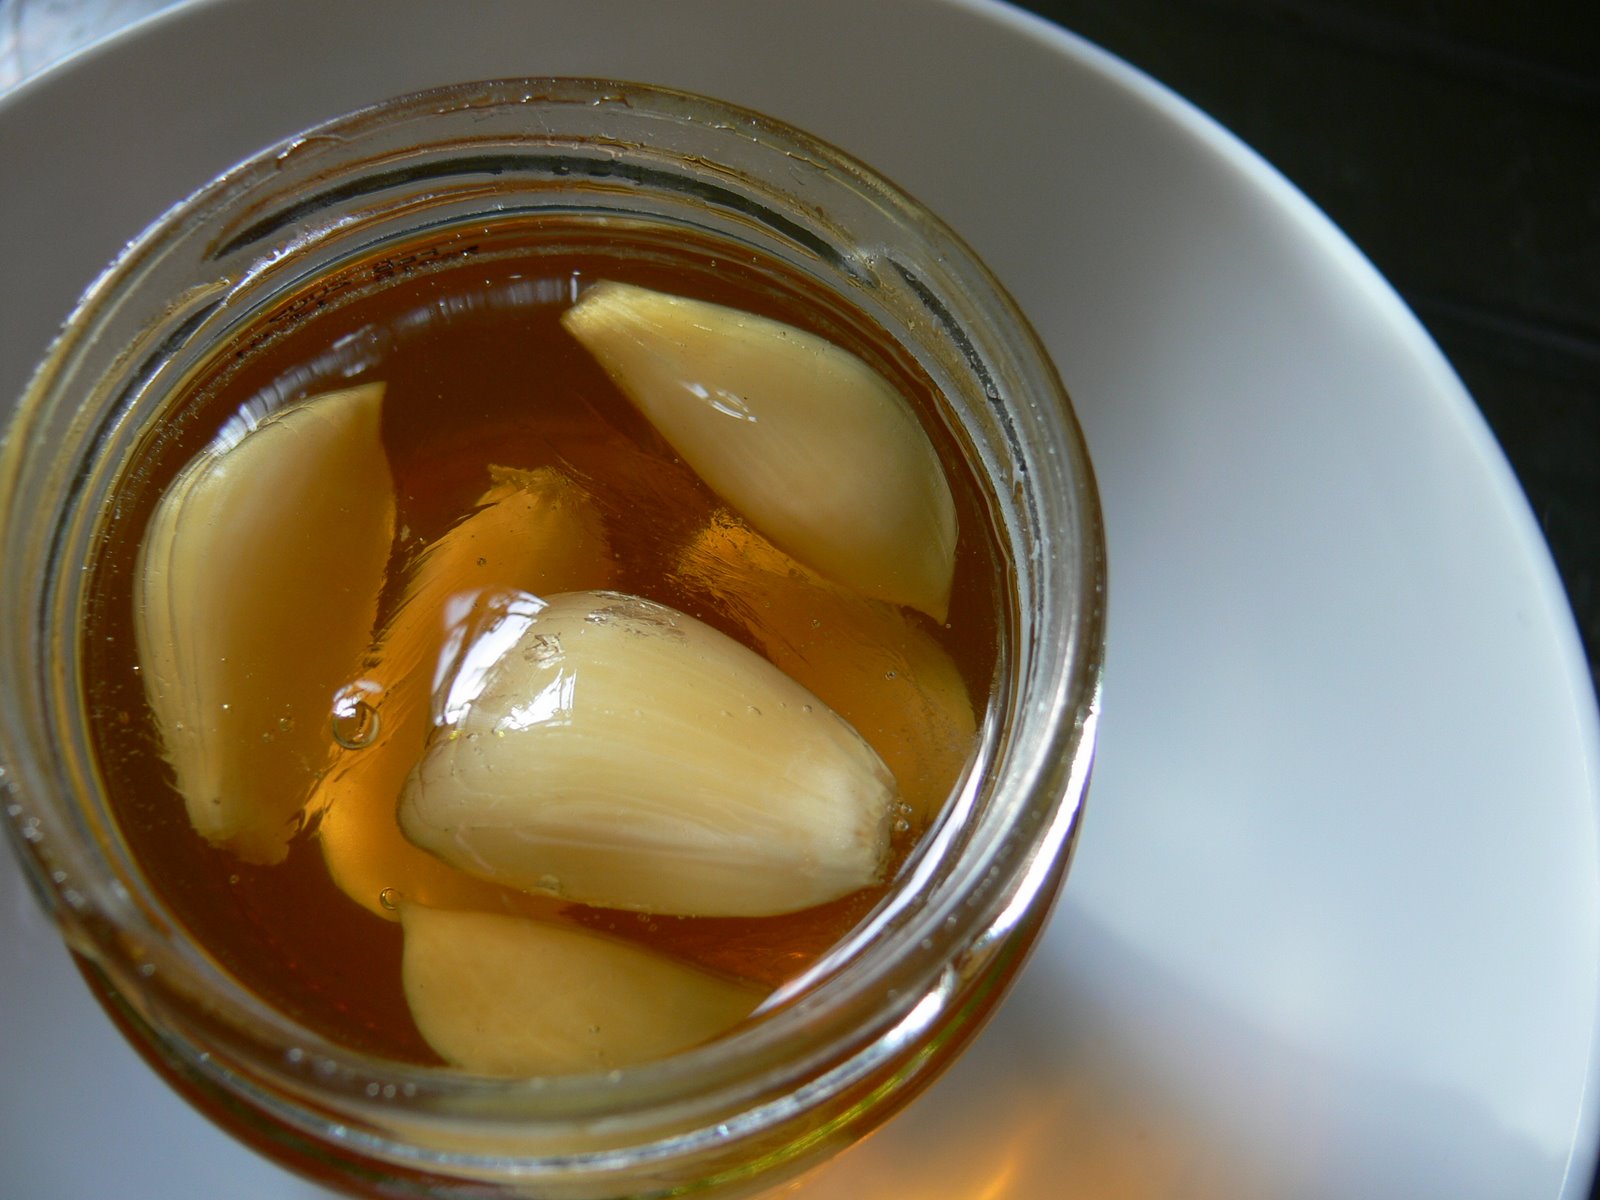
3 heaped tablespoons grainy Dijon mustard
3 heaped tablespoons runny honey
4 tablespoons light soy sauce
Juice of 1 lemon
4 tablespoons extra-virgin olive oil
Pilaf
800 g Basmati rice
2.25 litres chicken stock
2 large onions
3 Braeburn apples
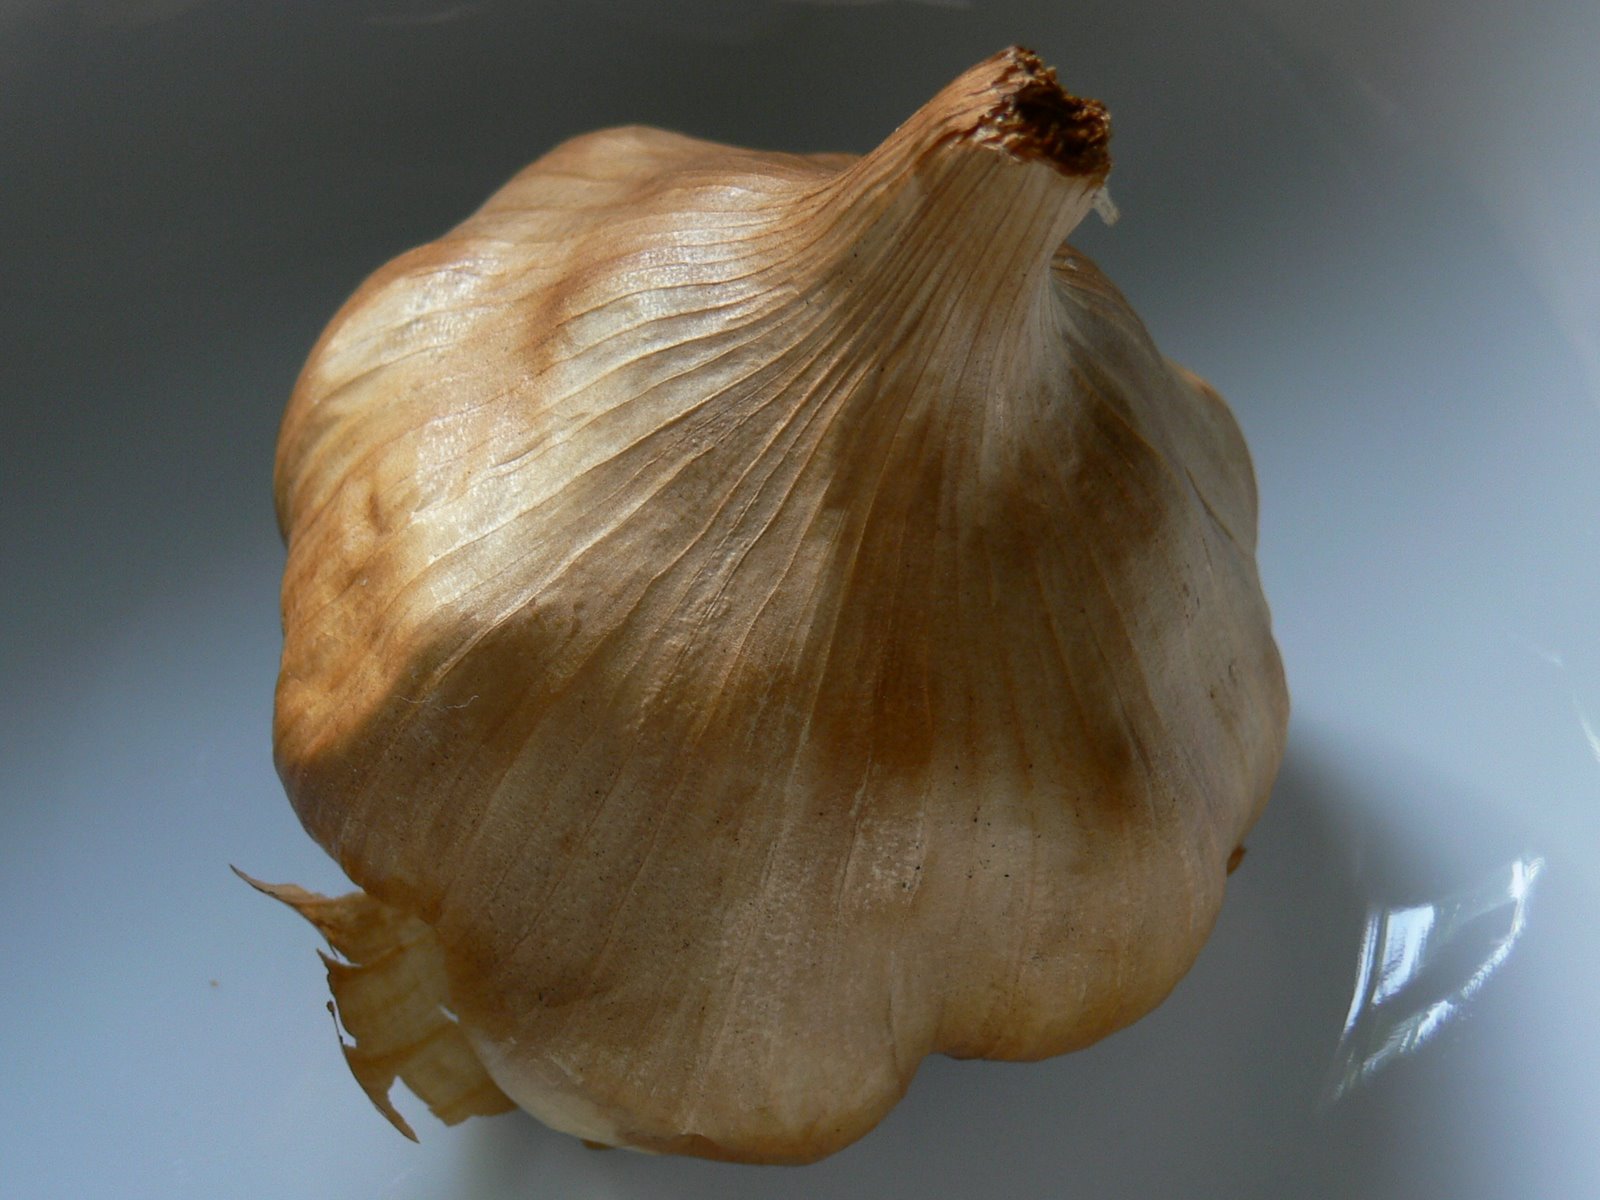
5 cloves garlic
1 cinnamon stick
1 teaspoon crushed dry chilli
8 fresh sage leaves, finely chopped
1 small handful parsley
2 tablespoons balsamic vinegar
1 tablespoon soft brown sugar
3 tablespoons butter
2 tablespoons olive oil
Salt and pepper
 Pork method
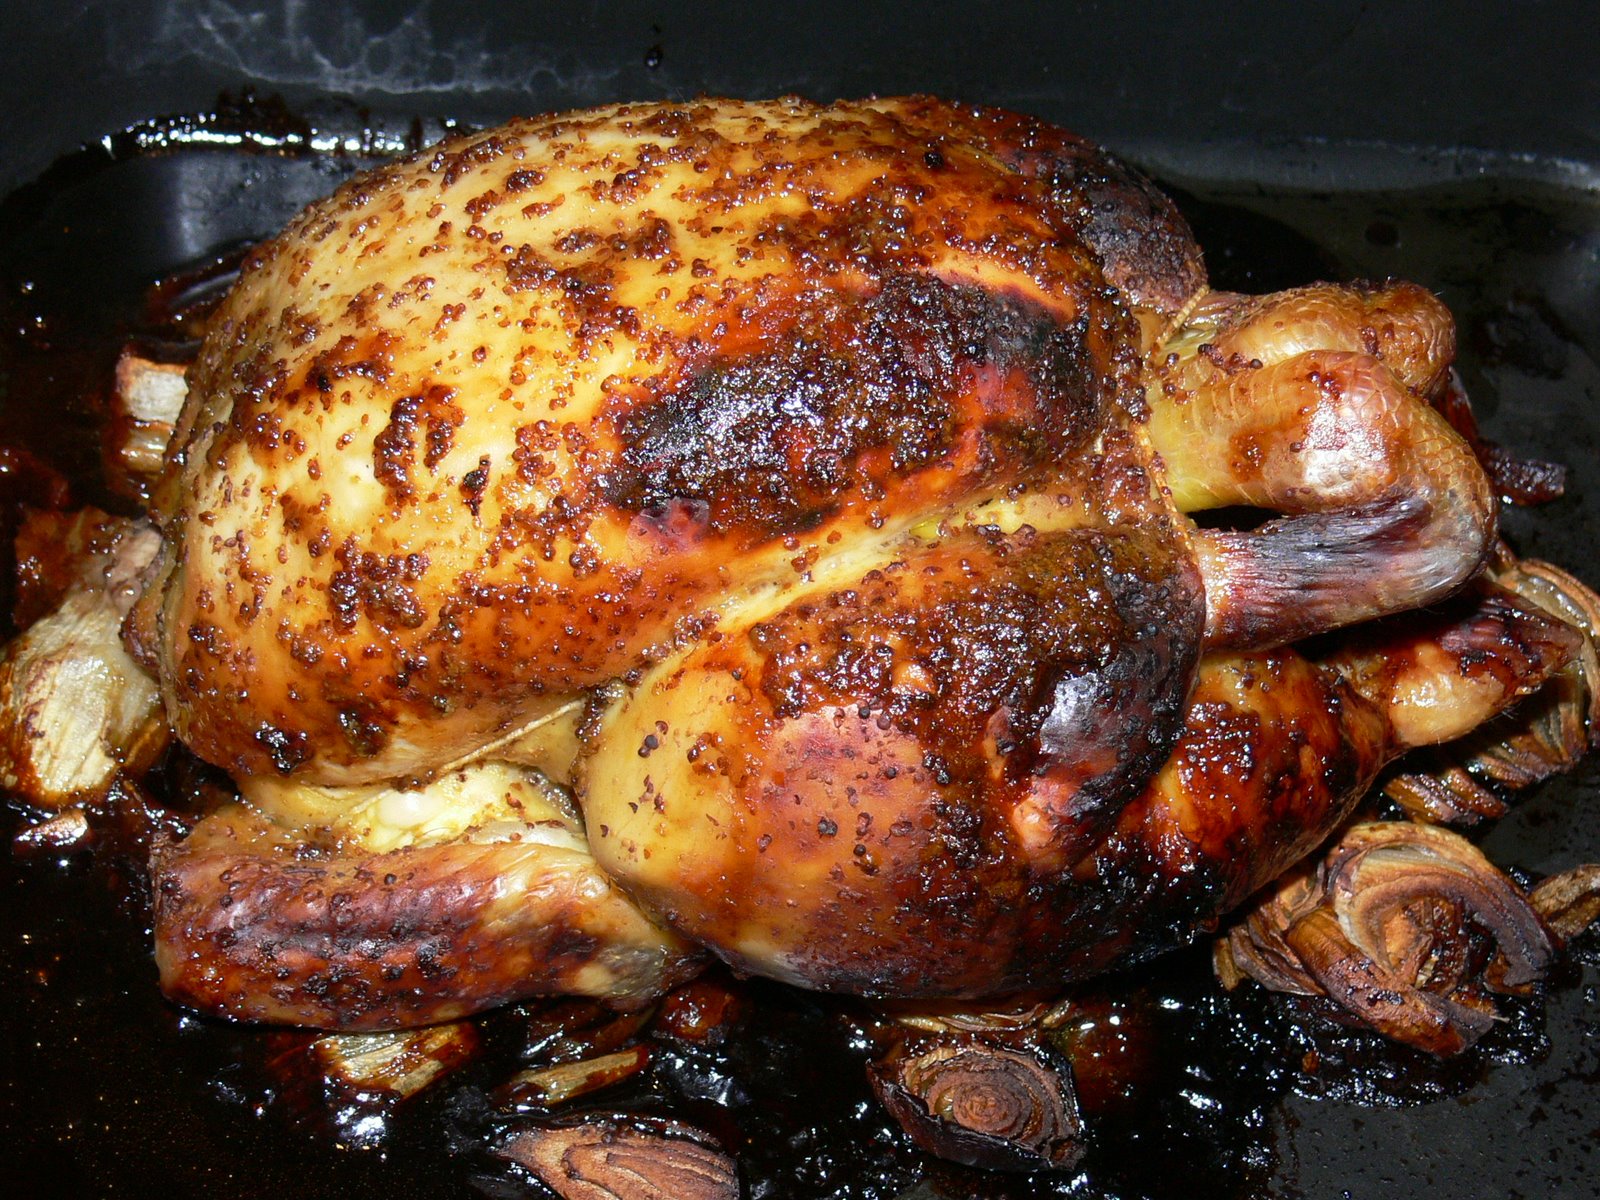
Marinade the pork in the mustard, honey, lemon, soy and olive oil overnight. Cook under a hot grill, about 7 minutes per side, basting frequently with the marinade.
Pilaf method
Slice the onions thinly. Core two of the apples and chop them into dice. Chop the garlic. Sauté the onions, garlic and apple pieces with the chillies and cinnamon stick in the olive oil and butter until soft. Stir in the balsamic vinegar and sugar with a teaspoon of salt, and allow the vinegar to bubble and reduce for thirty seconds. Tip the dry rice and the sage into the pan and stir well to make everything is mixed. Pour over the hot stock and bring to a fast boil, then immediately turn the heat down low, put the lid on and simmer gently for 12 minutes. Season to taste and dress with the remaining apple (diced or sliced – it’s up to you) and some fresh parsley.