Strawberry lemonade

Yes, those are LEGO ice cubes. What of it?

This hot summer has meant that we’ve been blessed with some truly gorgeous strawberries this year – fat, fragrant, juicy and sweet. If you have a glut, this lemonade is so delicious you may well find yourself drinking it instead of eating a dessert. A shot of vodka in the bottom of the glass wouldn’t go amiss either.

I’ve used the strawberry variety called Florence here, which is more fragrant and flavourful than Elsanta (the potato-ish variety you are most likely to come across in the shops). This method, though, where you will find yourself macerating the chopped berries in sugar overnight, makes the most of even Elsanta. Macerating somehow makes them much fruitier in flavour, so use whatever variety you can get your hands on.

To make a jug of lemonade large enough for four glasses, you’ll need:

2 punnets of strawberries (about 500g)
4 heaped tablespoons caster sugar
Juice of 2 lemons
Water

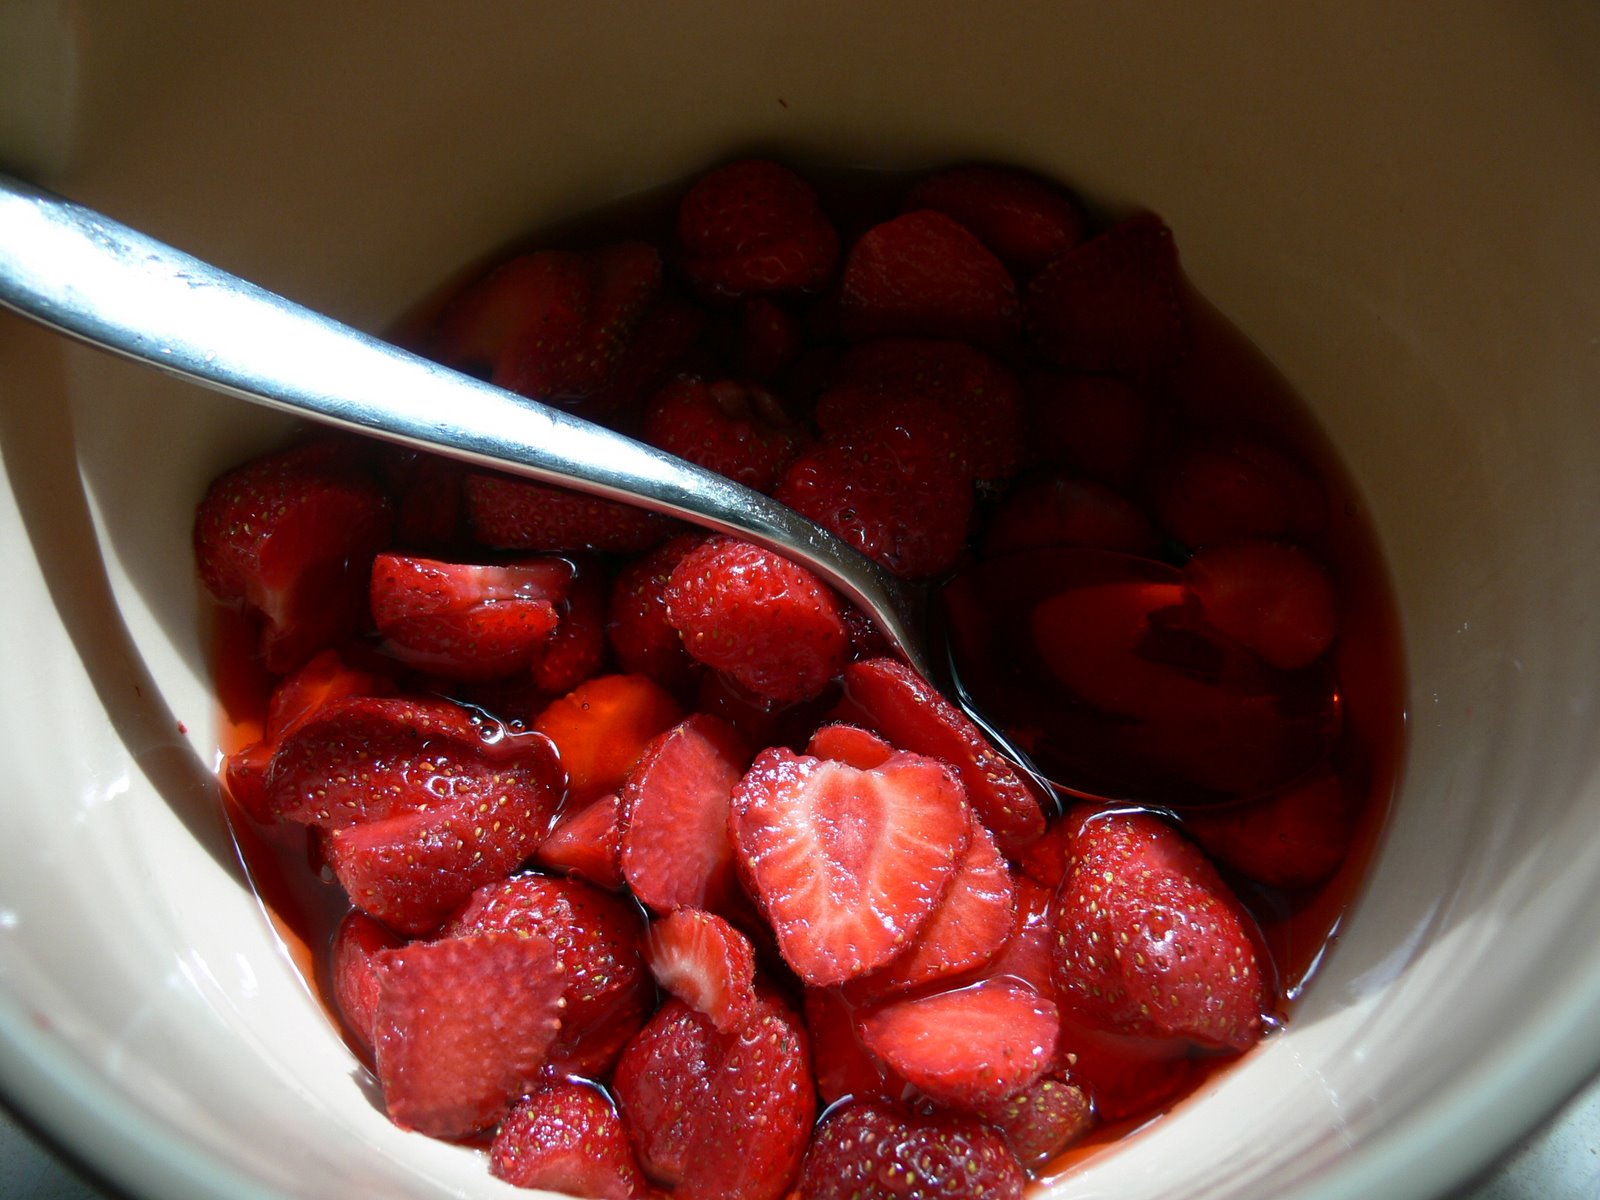
Slice the strawberries into four or five pieces each, and sprinkle generously with the sugar in a large bowl. Mix well with a spoon, making sure every piece of fruit is well sugared, then cover the bowl with cling film and chill in the fridge for about 24 hours, until you are ready to make the lemonade.

When you come to put the lemonade together, pour the pink syrup that will have developed in the strawberry bowl (see picture) into a large jug, and transfer the macerated strawberries themselves to a sieve, making sure you catch any drips in a bowl. Use the back of a ladle to push the strawberries (which will have become very soft in the sugar bath) through the sieve into a bowl until you are left with the seeds and a stiff pulp in the sieve, which you can discard.

Add the pureed strawberries to the syrup in the jug and squeeze in the juice of two lemons. Now add between 1 and 2 glasses of water to the jug (the mixture will be too sweet and sharp without dilution) until you reach a level of flavour you find just right – amounts will vary depending on the particular strawberries you have chosen. Stir well and serve immediately with ice. This drink is unspeakably good packed into a Thermos flask for a picnic – give the Thermos a swift shake before pouring if you use one.

Lemon curd

Have you ever had one of those days when you’ve suddenly noticed that you’ve accidentally bought fifteen lemons? I had one of those on Friday, and decided to use the lemons life had given me to make some lemonade. (Dead easy – maple syrup and lemon juice in iced water to taste.) There were still lemons left over. I decided to test one of the heavy pans in the new Le Creuset Satin Black glaze that Dr W (the wonderful, thoughtful Dr W) bought me for my birthday; they promise to be good at distributing a very slow, even heat. Perfect for lemon curd.

If you’re lucky enough to be able to get your hands on American Meyer lemons (a superbly lemonsome lemon) or thick-skinned, aromatic Sicilian lemons, you should immediately drop everything else you’re doing and use them to make curd. It’s a wonderful part of the English nursery tea – try it as a spread on some good, crusty toast, along with a cup of Earl Grey tea. The aromatic lemon zest in the curd and the bergamot in the tea are perfect partners.

You probably have all the ingredients you need to make lemon curd in the house already (although Meyer or Sicilian lemons are best, any unwaxed lemon will make a delicious curd), and it’s very quick – it should only take you about 40 minutes, at most, from the time you start to zest your lemons to the satisfying moment when you ladle the lovely primrose goo into jars. Home-made lemon curd is a million times nicer than the shop-bought stuff, and lasts for about six weeks in the fridge. To make about 1.25 kg of lemon curd, you’ll need:

4 lemons
4 large eggs
350g caster sugar
250g butter
2 teaspoons cornflour

Start by breaking the eggs into a heavy saucepan away from the heat. Beat the eggs thoroughly with a balloon whisk. Tip the grated zest and juice of the lemons over the eggs with the sugar, the butter, cut into tiny cubes, and the cornflour. (Strictly speaking, the cornflour is a cheat’s ingredient – it doesn’t add any flavour, and all the thickening comes from the eggs, but the cornflour provides a guarantee that your curd will not curdle. I’ve never had a lemon curd go wrong with a small addition of cornflour.)

Put the saucepan over a medium/low heat, and start to go at it with a balloon whisk. Whisk constantly until the butter has all melted. After another eight minutes or so of hard whisking, the curd will start to thicken. Turn the heat down to its minimum and keep on whisking, making sure you get into every corner of the pan, for another three minutes or so, until the curd is deliciously thick (it will continue to thicken as it cools down). Ladle immediately into sterilised jars and refrigerate once cool.

Chicken with cardamom and preserved lemons

Chicken with cardamom and preserved lemonsRemember those Moroccan preserved lemons from a few months back? They turned out very nicely indeed – salty, zingy skins infused with the scents of the spices in the jar. One of the spices I used in the preserved lemons was cardamom, and I’ve used more in this dish; along with the lemons and some flowery olive oil, it lifts and brightens the flavour of this chicken dish. Pure sunshine in a bowl – and that’s just what I feel like in dismal October. Be sure when choosing your ingredients that you use an olive oil with a good flavour.

I’ve used a box of the tiny fillets (sometimes called chicken tenders) you’ll find to one side of a chicken breast here. They’re a very easy piece of meat to work with if you’re in a hurry – no skinning or chopping necessary. To serve two, you’ll need:

450g chicken fillet pieces
3 shallots
3 tablespoons polenta or cornmeal
8 cardamom pods
1 preserved lemon
4 tablespoons good extra-virgin olive oil
1 handful parsley, chopped
Salt and pepper

Preserved lemonStart by scraping the pulp out of the inside of the preserved lemon (the pulp of these is too salty to eat). Dice the skin and pour over three tablespoons of the olive oil, then set aside while you prepare the rest of the meal.

Slice the shallots very finely and put them in a large bowl with the chicken. Bash the cardamom pods lightly in a mortar and pestle to crack their tough skins, then use the back of a teaspoon or a fingernail to get all the seeds out. Discard the empty pods and crush the seeds in the mortar and pestle. Mix the cardamom seeds, polenta and some salt and pepper, then sprinkle evenly over the chicken and shallots and mix well.

Heat the remaining tablespoon of olive oil in a large sauté pan over a high flame. Tip in all the chicken mixture and sauté until crisp and brown. Remove the chicken and crispy shallots to a clean bowl and pour over the lemon and oil mixture and some parsley, tossing like a salad to mix. Serve immediately.

Preserved lemons

Preserved lemonsI have been having some very good dreams recently about those sweetbreads with preserved lemon I ate a couple of weeks ago at Moro. Although sweetbreads are pretty hard to find round here, Moroccan preserved lemons are not – you can buy Belazu’s very good lemons at the supermarket, or make your own. I chose to make my own, because making preserves gives me a self-righteous glow and something nice to display in the kitchen.

This is a really easy preserve to make, largely because it involves no cooking. The lemons are preserved in salt and their own tart juices, with spices and herbs tucked in between. Once ready, the rinsed lemons’ skins can be used as a condiment, and their pulp and juice as a seasoning. To fill a sterilised 1.5 litre jar, you’ll need:

About 15 unwaxed lemons (buy a few extra in case you need the juice)
500g coarse salt
2 bay leaves
3 cardamom pods
10 coriander seeds
3 dried chillies
1 cinnamon stick
5 cloves

Preserved lemons, cinnamon stickBegin by making a 2 cm layer of salt at the bottom of the jar, and dropping a couple of the whole spices in it. Take a lemon and cut the top and the bottom off. Make as if you are going to cut the lemon in half from top to bottom, but don’t cut through the last 1 cm of flesh and skin. Turn the lemon upside down and make another cut from top to bottom, as if you were going to quarter the fruit, again not cutting all the way through. You’ll end up with a lemon with two top-to-bottom slits in it. Holding the fruit above the neck of the jar, stuff each slit with as much salt as you can fit in, then drop it into the jar, pushing it firmly into a corner.

Continue filling your lemons with salt and packing them firmly into the jar, sprinkling salt and spices between them as you go. You’ll notice that the juice from the squashed lemons will begin to cover the fruits as you work. When you have packed as many lemons into the jar as will fit, squeeze over fresh lemon juice until the top lemon is at least 1 cm deep in the preserving liquid.

Put the lid on tightly and leave the lemons in a warm place (the kitchen worksurface will do just fine) for six weeks, shaking the jar gently every day to mix the ingredients. The lemons, once ready, do not need to be refrigerated, and will keep indefinitely – if, once you start using them, the liquid no longer covers all the lemons, just add more salt and lemon juice.