A few years ago, when lamb shanks hadn’t appeared on every pub menu in the country, they were a great cheap alternative to other cuts. These days, unfortunately, they’re a bit pricier as people have become less scared of pieces of meat with bones in them – a shame, because when braised they’re easy to handle and taste fantastic, their meat sweet from proximity to the bone and luxurious in the mouth from long simmering.
Because this is such a lusciously rich cut, lamb shanks benefit from lots of aromatics to lift the flavour. I’ve used a mixture of French and Moroccan flavours to produce what I imagine you might do with lamb shanks in Marrakesh. I have never been to Marrakesh, and this would probably be considered totally weird by any real Moroccans, but I’m very pleased with the results. Don’t be put off by the long ingredients list; this isn’t hard to make, and can all be done on the stove top.
To serve two, you’ll need:
2 lamb shanks
3 carrots
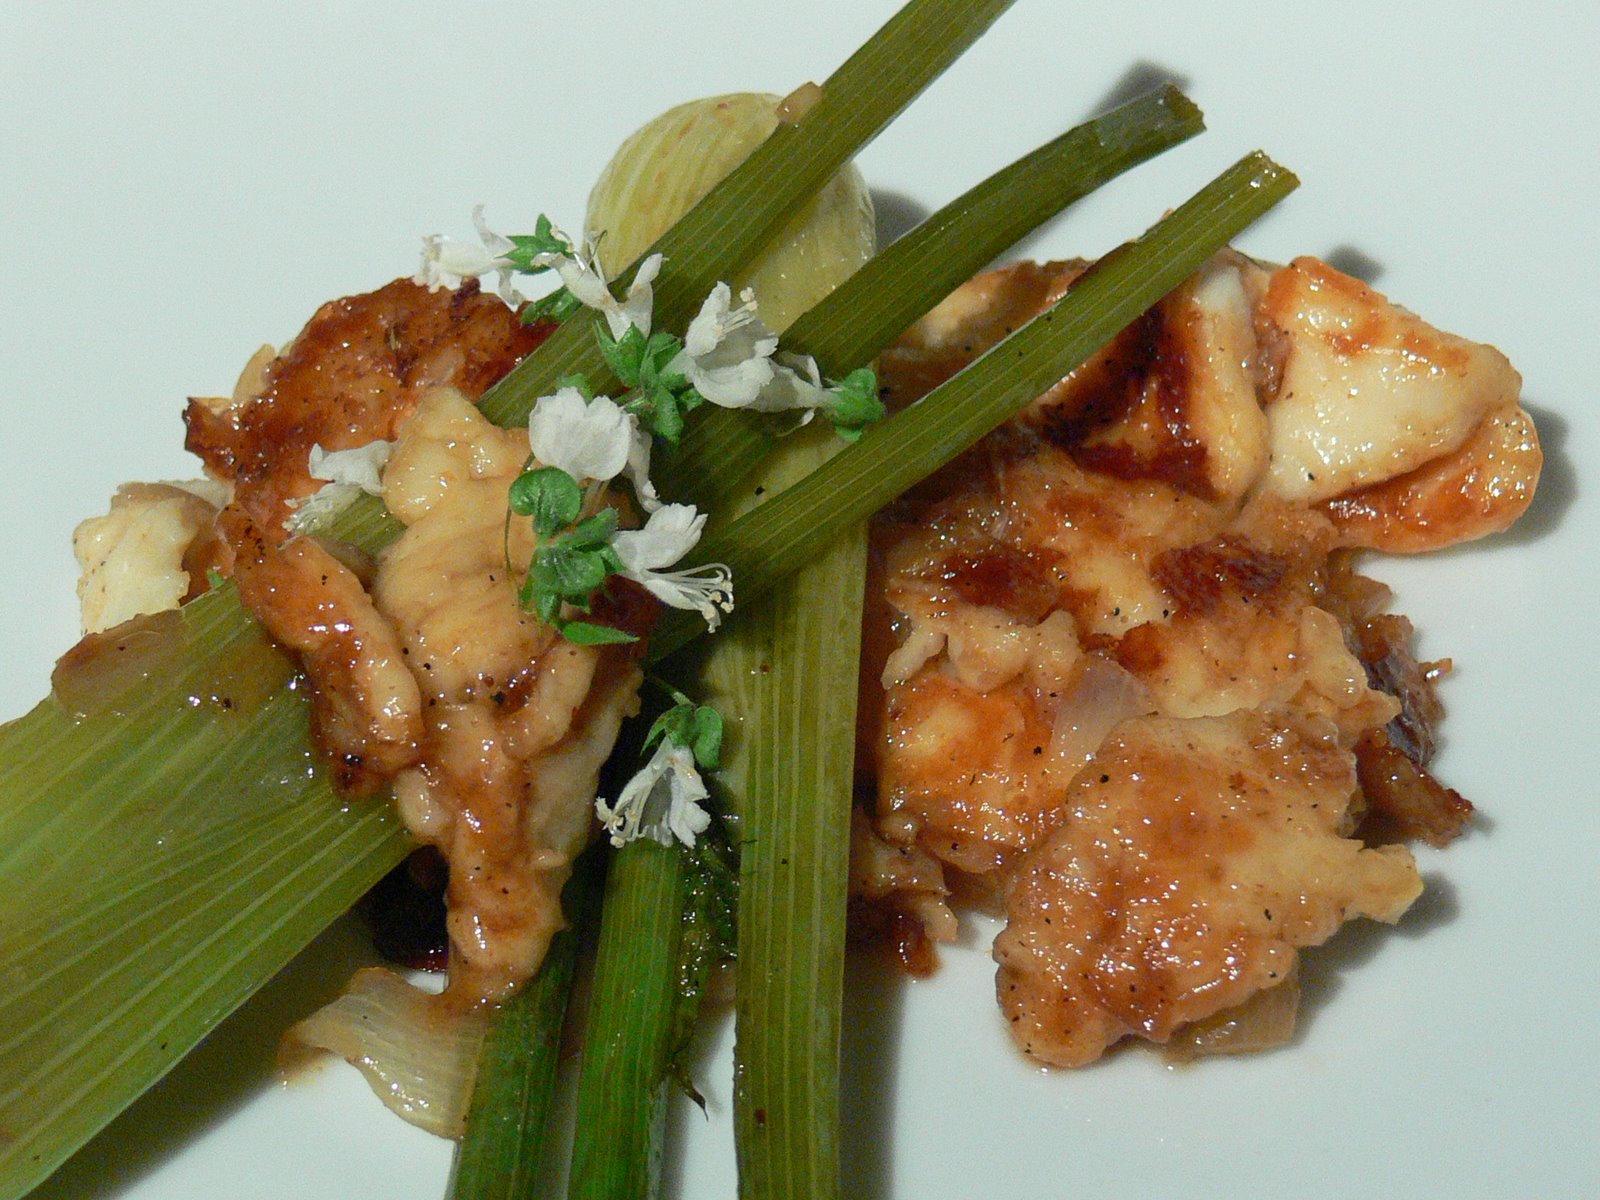
5 sticks celery
1 large white onion
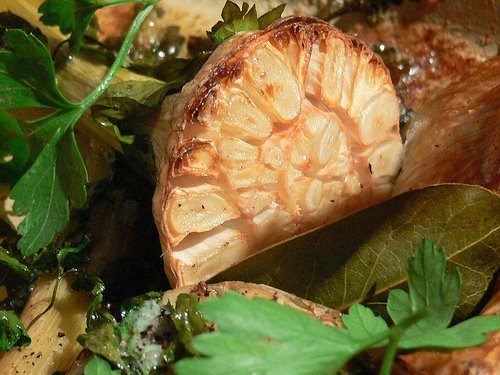
1 head garlic
½ bottle red wine
800ml stock (use lamb stock if you have some in the freezer – otherwise chicken will be fine)
800g passata
2 tablespoons tomato puree
2 tablespoons balsamic vinegar
1 heaped tablespoon soft brown sugar
1 tablespoon Ras al Hanout
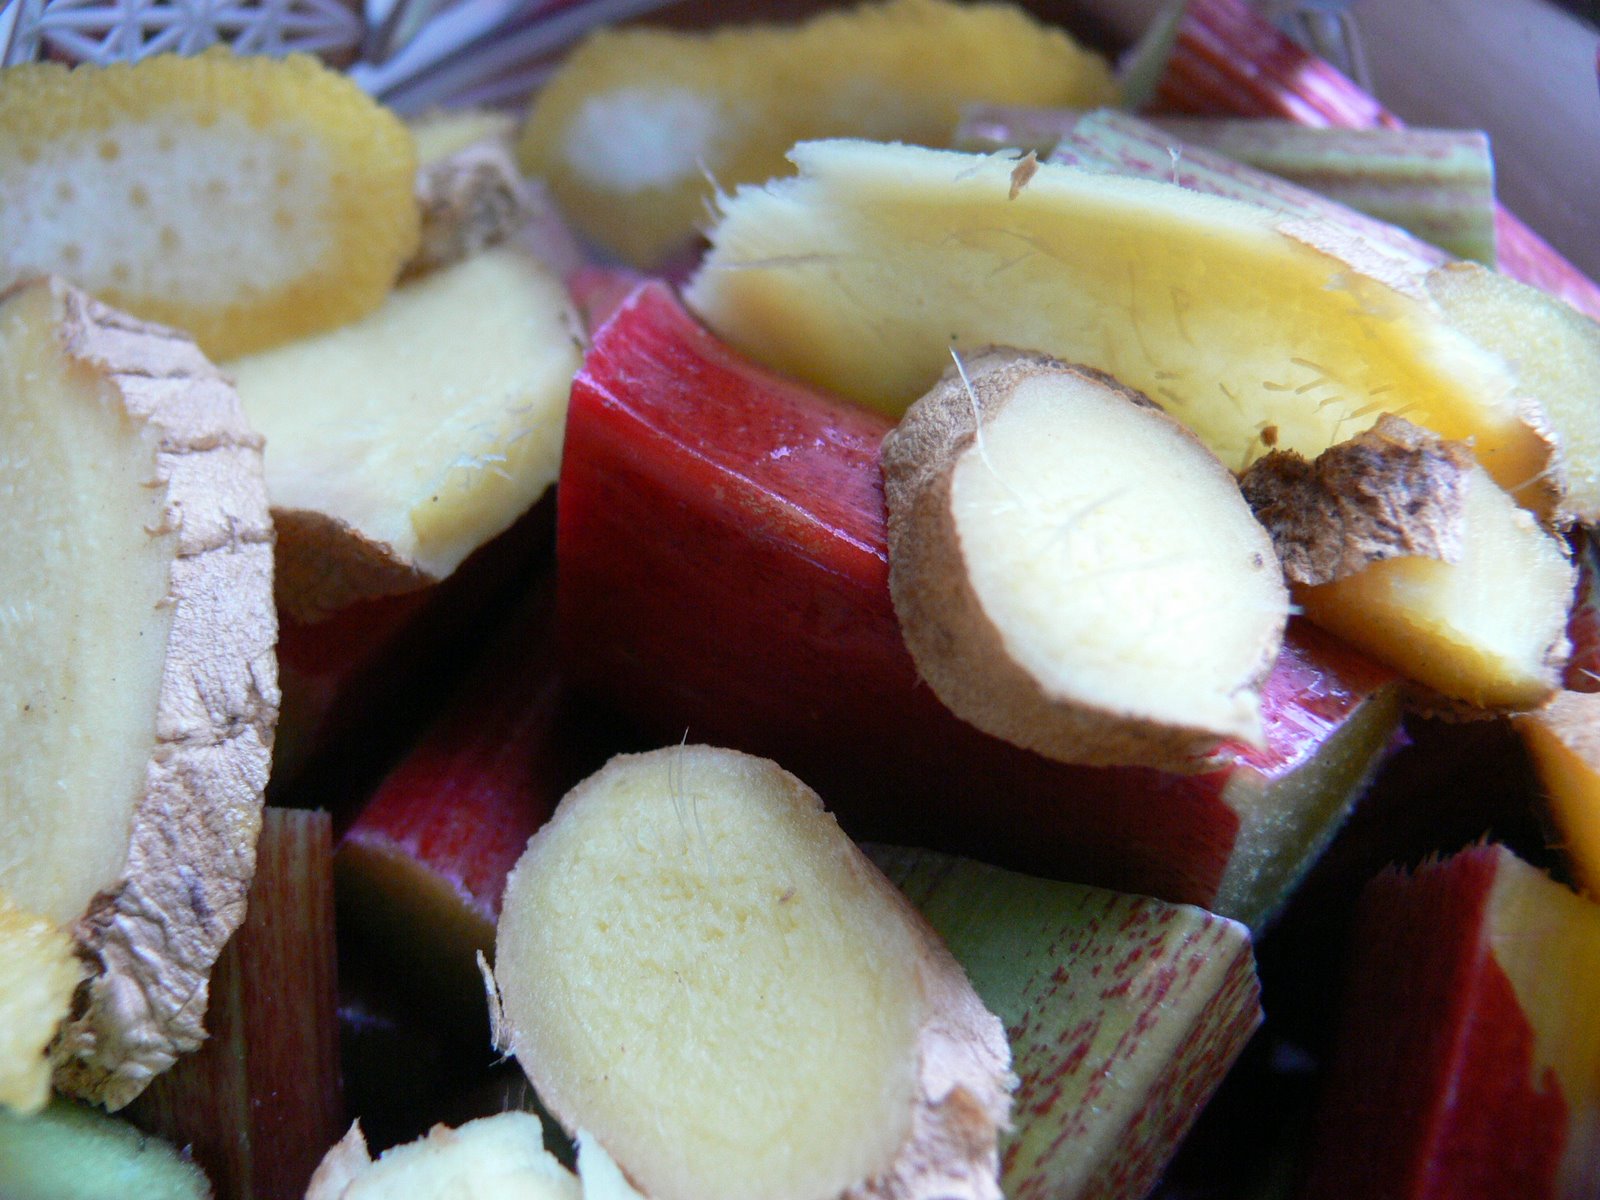
1 inch piece of ginger, grated
1 teaspoon coriander seeds
1 teaspoon cumin seeds
1 teaspoon fennel seeds
1 teaspoon fresh thyme leaves
½ stick cinnamon
2 dried chilllies
Juice and zest of 1 lemon
1 can chick peas
Salt and pepper
Olive oil
 Dice the onions, carrots and celery, chop the garlic and grind the fennel, cumin and coriander seeds together in a mortar and pestle. Rub the lamb shanks with salt and pepper.
Heat about 5 tablespoons of olive oil over a high flame in the bottom of a heavy casserole dish with a close-fitting lid until it begins to shimmer, then brown the lamb shanks all over in it. Remove the browned meat to a large bowl, and turn the heat down to medium. Add the diced vegetables to the oil you browned the meat in and sweat them with the garlic, grated ginger, Ras al Hanout, ground spices, thyme, cinnamon and chillies.
Cook the aromatic mixture without browning until the vegetables are turning soft, keeping everything moving, then return the lamb to the casserole. Pour over the wine, stock and passata and simmer for five minutes. Add the balsamic vinegar, sugar, lemon juice and lemon zest with some salt to taste (I used just over a tablespoon for this volume of sauce.) Turn the heat down to a very gentle simmer, put the lid on and leave for three hours, turning the lamb shanks in the sauce a couple of times during cooking.
When the three hours are up, add the drained chick peas to the pan and simmer for a further fifteen minutes. The sauce will have become rich and thick (insert joke about ideal spouse here). Skim off any fat that has risen to the surface, and serve with mashed potatoes to mop up the delicious sauce.