Win a little break for two to Lille!

I’m still on an official blog holiday, but I’ve a couple of really great prizes to give away this week. For today’s competition, Eurostar have stumped up two tickets to Lille (you might remember reading about the little break I took there with a bunch of other food bloggers last month) for one reader.

If you want to win the tickets, just leave a comment below, explaining how a little break would make a big difference to you – the guys at Eurostar will shortlist five of the funniest or most interesting entries, from which I’ll choose a winner on October 1 2009. Please remember to include your email address so I can contact you if you win.

There are just a couple of conditions: you must be able to make your own way to St Pancras to board the train, and the prize is available to UK entrants only, traveling from London to Lille, not Lille to London. Good luck!

Blog holiday

I’m away until October, gallivanting around Las Vegas and Phoenix in search of the perfect meal. I plan on blogging a very little (if at all), and I’ll be on Twitter a minimal amount too. I’ll be picking up emails as usual (and a friend is staying in our house while we’re away, so burglars beware).

What else? I have to thank the guys at Charlie Bigham’s, who sent me a week’s worth of ready meals which coincided very nicely with Dr W’s absence of a week (he’s starting an MBA, his existing MA and PhD not being sufficient, as far as he is concerned). I moved from sceptical to stuffed in one meal. I am not really a ready-meal person, but these are as close as I can imagine such a thing getting to a meal you’ve cooked yourself, and kept me very nicely fed for a lonely week. (I hate cooking for one. I always end up eating too much, and most of the fun for me is in having someone else to enjoy what I’ve cooked.) A hearty recommend in particular for the little 1-person pies. Now, these things are pricey – the lamb parcels in filo, which I particularly enjoyed, rocked up at £10 when I looked for them at Waitrose – but if you’re looking for something swanky to feed to last-minute visitors when you don’t have time to cook, I don’t think you’ll find much better.

I’ve also got a new camera – an Olympus Pen E-P1, which I have fallen hopelessly in love with. So far, only the peach and papaya jam post has been illustrated using it, but I’m amazed at how much better my pictures are turning out (the photos accompanying this post were all taken as I pootled around the village with it the other day). It’s exactly right for me – a four-thirds body means it’s smaller and lighter, so more portable than a DSLR, but it’ll still take interchangeable lenses; it’s a stroll in the park to use; it’s fabulous in low light (good news for restaurant photos); and look at the picture quality! I’m not a natural photographer; I have a lousy visual imagination and recall, so taking pictures for this blog is something I’ve always had to work pretty hard at. I’m absolutely thrilled at how much easier the E-P1 is making things. I am really looking forward to unleashing it on Las Vegas.

Back in early October. If there are any recipes you’d particularly like me to have a swing at on my return, please leave a comment here, and I’ll see what I can do!

Peach and papaya jam

Don’t you hate it when the light starts slanting to remind you it’s autumn? This recipe catches the last of the really summery peaches and preserves them with a sugary papaya so you can enjoy them in the dead of winter with toast. I’m blowing my own trumpet a bit here, but I was simply amazed at how good this combination is – this is an extraordinarily good jam, packed with peachy aroma and body.

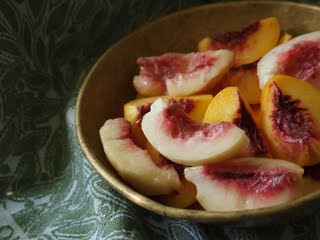
It’s nice here if you can find some white peaches (or nectarines) as well as some yellow ones. The fruit will be suspended in little chunks in the amber jam, and it’s nice to have a little variety in colour to look at. Peaches and papaya aren’t particularly rich in pectin, and they’re very, very sweet, so there’s less sugar here than you might expect; I have also added a supplementary apple with the juice of a lemon to add a little tartness and that all-important pectin for setting.

As with all jams, make sure you stir this constantly with a wooden spoon as it cooks to avoid burning the bottom of your pan. If you make a lot of jam (or even if you only make a bit), it’s a really good idea to spend a few pounds on a jam thermometer rather than relying on the cold saucer method, where you drip a little jam onto a cold object to see whether it’s setting properly.

To make about 2kg jam, you’ll need:

1 ripe papaya
2 ripe yellow peaches
2 ripe white peaches
1 small, tart apple
Juice of 1 lemon
Sugar (you’ll need to work out the weight – see below)

Sterilise some jars and a ladle.

Peel and seed the fruits. This is very easy with a peach – just quarter it and you should be able to peel the skin away with your fingers. Chop the flesh into chunks, being careful to reserve the juice. Weigh the fruit and any juice, and measure out some sugar weighing ¾ as much as the fruit. (In many jam recipes you’d use equal amounts of fruit and sugar, but these are very sweet fruits, and they don’t need the help!)

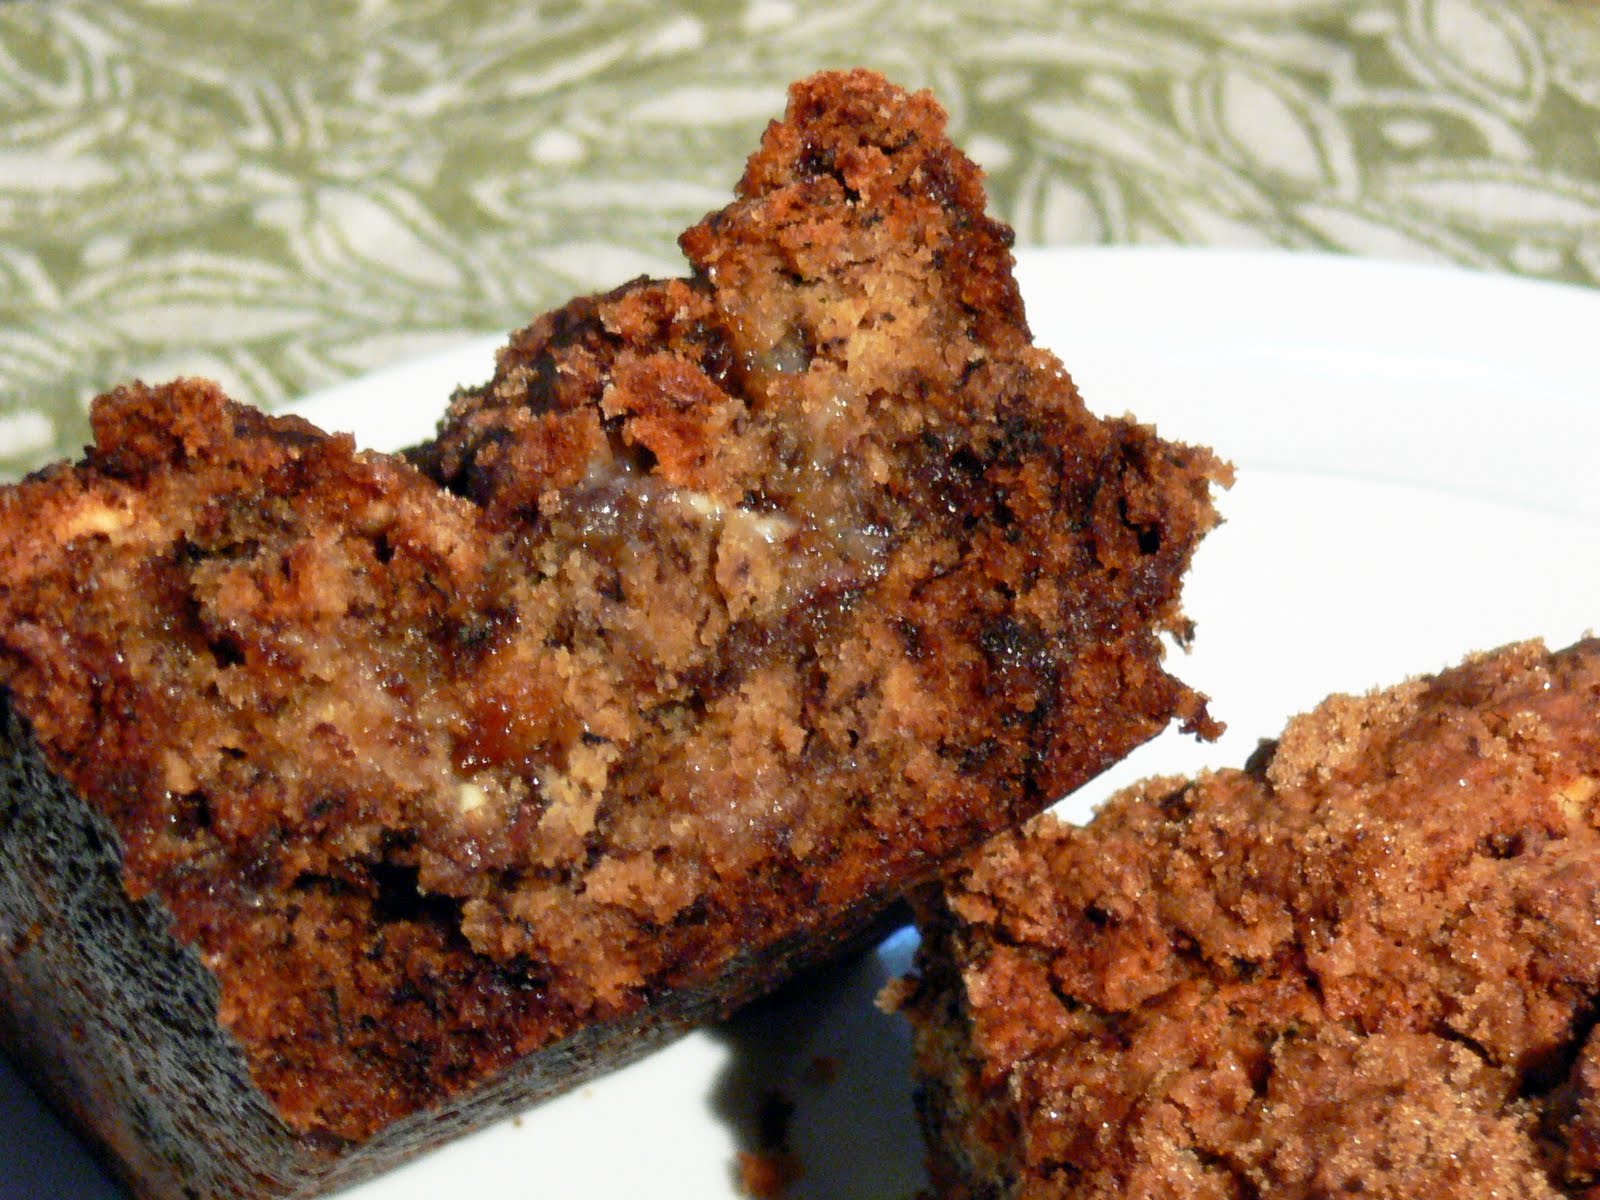
Pour the fruit, the lemon juice and the sugar into a saucepan with a jam thermometer, and bring to 110°C (230°F). The faster you can get it to temperature, the better the colour of the fruit will be preserved. Ladle the hot jam into jars, topping with a wax disc if you like, and seal immediately.

Crème de mures – blackberry liqueur

A reader from France emailed me a few weeks ago with her own recipe for Crème de Cassis: blackcurrant liqueur for making Kir with. Kir is one of my favourite apèritifs – use one measure of Crème de Cassis or Crème de Mures (the same liqueur made with blackberries rather than blackcurrants) in a glass of five measures of chilled white wine. A Kir prepared with sparkling wine is a Kir Royale, and is also blimmin’ brilliant. Thank you very much, Jacqueline – and if you email me again to let me know what your surname is, I can give you a full credit for the recipe!

In this part of the world, blackcurrants are hard to find and very expensive when you do get your hands on them. Blackberries, however, quite literally grow on trees at the moment, and the method and amounts you’ll need for a crème de mures will be exactly the same. So if you want to make the most of this year’s surprisingly good blackberry harvest, get gathering at the weekend and produce a couple of home-made bottles of crème de mures (or crème de cassis if you have a handy currant bush) to impress people with.

Jacqueline says you’ll need:

1.5 kg ripe blackcurrants
2 litres of red wine (NOT the absolutely cheapest plonk)
Sugar

Wash the blackcurrants or blackberries, place in an earthenware pot or pyrex bowl and crush with a wooden spoon. Add the red wine and leave to macerate for 48 hours.

Filter, weigh the juice and add the same weight of sugar. Pour into an enamel or stainless steel saucepan (Jacqueline and I both used a Le Creuset pot) and heat to just boiling. Let it boil gently for 5 minutes, stirring with a wooden spoon from time to time. Leave to cool to about 40°C, filter and bottle.

If filtered well, and bottled into sterilised bottles and well corked this will keep indefinitely. Jacqueline says that for a filter, she makes bags out of calico with loops for suspending from the legs of an upturned stool, making sure the bowl can be lifted out from between the stool legs when full! I have a Lakeland jam stand – I’m not awfully fond of it, given that these days it’s a bit peely, but it does the job. Don’t be tempted to hurry up the filtering process – just leave gravity to do its job.

Chocolate banana bread

Bananas, white and milk chocolate chunks, and a sugary, crispy crust. What’s not to like? This is a pleasingly easy recipe, and I was very pleased with the reaction when I came up with it the other evening – the entire loaf vanished before I was able to boil the kettle for a pot of tea.

For one disappearing banana miracle loaf, you’ll need:

3 ripe bananas
100g white chocolate
100g milk chocolate
180g plain flour
150g soft light brown sugar + 2 tablespoons to sprinkle
40g salted butter (softened)
1 teaspoon baking powder
1 teaspoon bicarbonate of soda

Preheat the oven to 190°C (375°F). Grease a 9×5 inch loaf tin.

Sift the flour from a height into a large bowl with the bicarbonate of soda and baking powder. In another bowl, use an electric mixer to cream the sugar and butter together until they are pale in colour. Use the back of a fork to mash the bananas, and use the mixer to whip them into the butter and sugar mixture for two minutes.

Wallop the chocolate, still in its packets, with a rolling pin to reduce it to chunks. (This is a lot cheaper than buying dedicated chunks for baking, and the chocolate will probably be of a higher quality too.) Use a spatula to fold the chocolate chunks and contents of the banana bowl into the flour as gently as you can – if you’ve ever eaten a disappointingly solid banana bread it’s almost certainly because the batter has been overhandled. Use the spatula to shuffle the mixture into the loaf tin, sprinkle the top with the extra sugar and bake on a middle shelf of the oven for 45 minutes. Check a skewer comes out clean – if it doesn’t, pop a piece of tin foil on top of the tin to stop the top from going too brown and add another 10 minutes to the cooking time. Cool for quarter of an hour in the tin, then move to a rack to finish cooling (or eat immediately, which is what we did, and very nice it was too).